
Modern cameras are honest to a fault. A 4K sensor and a ring light will surface every pore, every blotch, and every rough night. The goal isn’t to erase your face. It’s to look like yourself on a good day. Here are the four ways to get there, from free to fully automatic, and how to keep the result natural. Drag the slider to see what “natural” actually looks like.


Natural smoothing keeps real texture, hair, and eyes intact. Only the skin changes.
The short version: Fix your lighting first, because it’s free and does most of the work. Then smooth in post with a tool that masks only skin and keeps real texture, never one that blurs the whole face. Your options, from least effort to most control: good light, then your editor’s built-in tool, then a plugin, then a dedicated app that does it automatically.
First, fix it in-camera (free)
Before you touch any software, lighting does about 80% of the job. A large, soft key light (a softbox, a window, or a diffused panel) wraps the face and fills in the harsh shadows that make texture pop. Back the light off the subject a little, skip the bare hard source, and turn down in-camera sharpening if your camera lets you. Nail this and you might not need post at all.
Method 1: your editor’s built-in tool
Most editors can soften skin. DaVinci Resolve Studio has Face Refinement, which detects a face and gives you a texture slider. The free version of Resolve can isolate skin with an HSL qualifier and a manual soften. Premiere Pro can do it with a masked, tracked blur or a third-party effect. Built-in tools are cost-effective if you already live in that app, but they’re usually one face at a time and take some setup. Our DaVinci Resolve vs. VanityFilter comparison breaks down exactly how the Resolve route feels in practice.
Method 2: a plugin
Dedicated plugins like Digital Anarchy’s Beauty Box live inside After Effects, Premiere, or Resolve and automate a lot of the masking. They’re powerful and popular with pros. The trade-offs are price (often a subscription or a steeper one-time cost) and the fact that they only run inside a host NLE.
Method 3: a dedicated app
If you’d rather not open an editor at all, a standalone app handles skin smoothing end to end. VanityFilter (Windows) is built for exactly this. It detects every face in the frame, up to five, including profiles, then masks only skin so hair, eyes, glasses, and hats stay exactly as shot. It handles multiple people and whole batches in one pass, runs fully offline, and uses a one-time license. A lot of creators run it on raw footage before they cut, which we cover in smooth skin before you edit. On phones, apps like Facetune or YouCam Video cover quick vertical clips, though they’re aimed at mobile rather than desktop footage.
How to keep it natural (the part that matters)
The difference between “rested” and “plastic” comes down to a few habits:
- Mask only skin. Eyes, brows, lips, and hair have to stay razor-sharp. The moment those soften, the brain reads “filter.”
- Keep real texture. Good tools use frequency separation, clearing blotches and noise on one layer while preserving genuine pore-level detail on another. Skin should still look like skin.
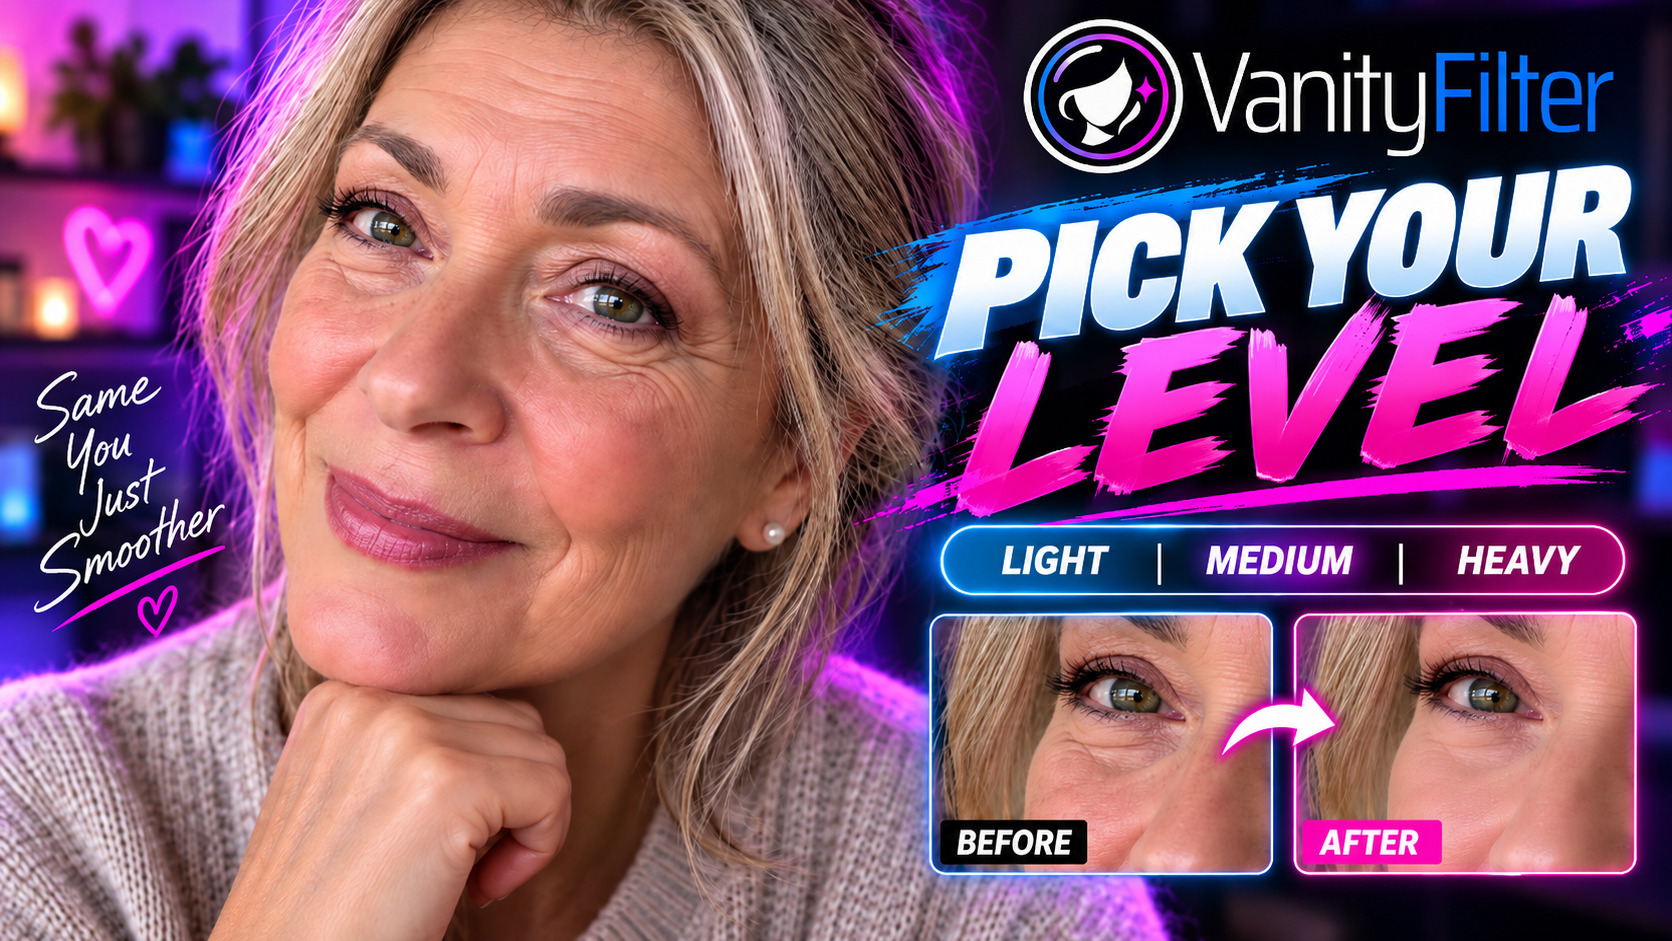
- Under-smooth. Match the strength to the shot. A light touch on most footage beats a heavy hand. See the same clip at light, medium and heavy to find your level.
- Fix shine separately. A shiny nose is a brightness problem, not a texture one. Our face-shine video walkthrough treats it first, then adds only as much smoothing as the shot needs.
- Mind the neck. Smooth the neck and jawline too, or a polished face floats on untouched skin.
Which method should you use?
| Approach | Cost | Effort | Multiple faces |
|---|---|---|---|
| Lighting & in-camera | Free | Low (on set) | n/a |
| Editor built-in (Resolve / Premiere) | Free to $295 | Medium to high | One at a time |
| Plugin (e.g. Beauty Box) | $$ or subscription | Medium | Per instance |
| Dedicated app (VanityFilter) | $49 one-time, currently $29.95 | Low | Up to 5, automatic |
FAQ
What is the most natural way to smooth skin in video?
Start with soft, diffused lighting and slightly lower in-camera sharpening, which removes most of the harshness for
free. In post, use a tool built on frequency separation, which softens color and blotches on one layer while keeping
genuine pore-level detail on another, so skin stays skin instead of turning to wax. Keep eyes, brows, lips, and hair
completely untouched.
How do I smooth skin in video without it looking plastic?
Under-smooth rather than over-smooth, keep some fine skin texture (detail restore), never blur eyes, lips, or hair, and
match the amount to the shot. A precise skin-only mask plus restored detail is what separates a natural result from an
obvious filter.
Is there a free way to smooth skin in video?
Yes. Good lighting is free, and the free version of DaVinci Resolve can isolate skin with an HSL qualifier and add a
manual soften. It is more work than a dedicated tool, but it costs nothing.
What is the best app to smooth skin in video on a PC?
For Windows, VanityFilter is a dedicated option: it detects every face (including profiles), masks only skin so hair
and eyes stay sharp, handles multiple people and batches in one pass, runs offline, and uses a one-time license.
Plugins like Beauty Box and DaVinci Resolve Studio’s Face Refinement are strong alternatives if you work inside
an NLE.
Related: Skin smoothing in DaVinci Resolve vs. VanityFilter · Get VanityFilter