
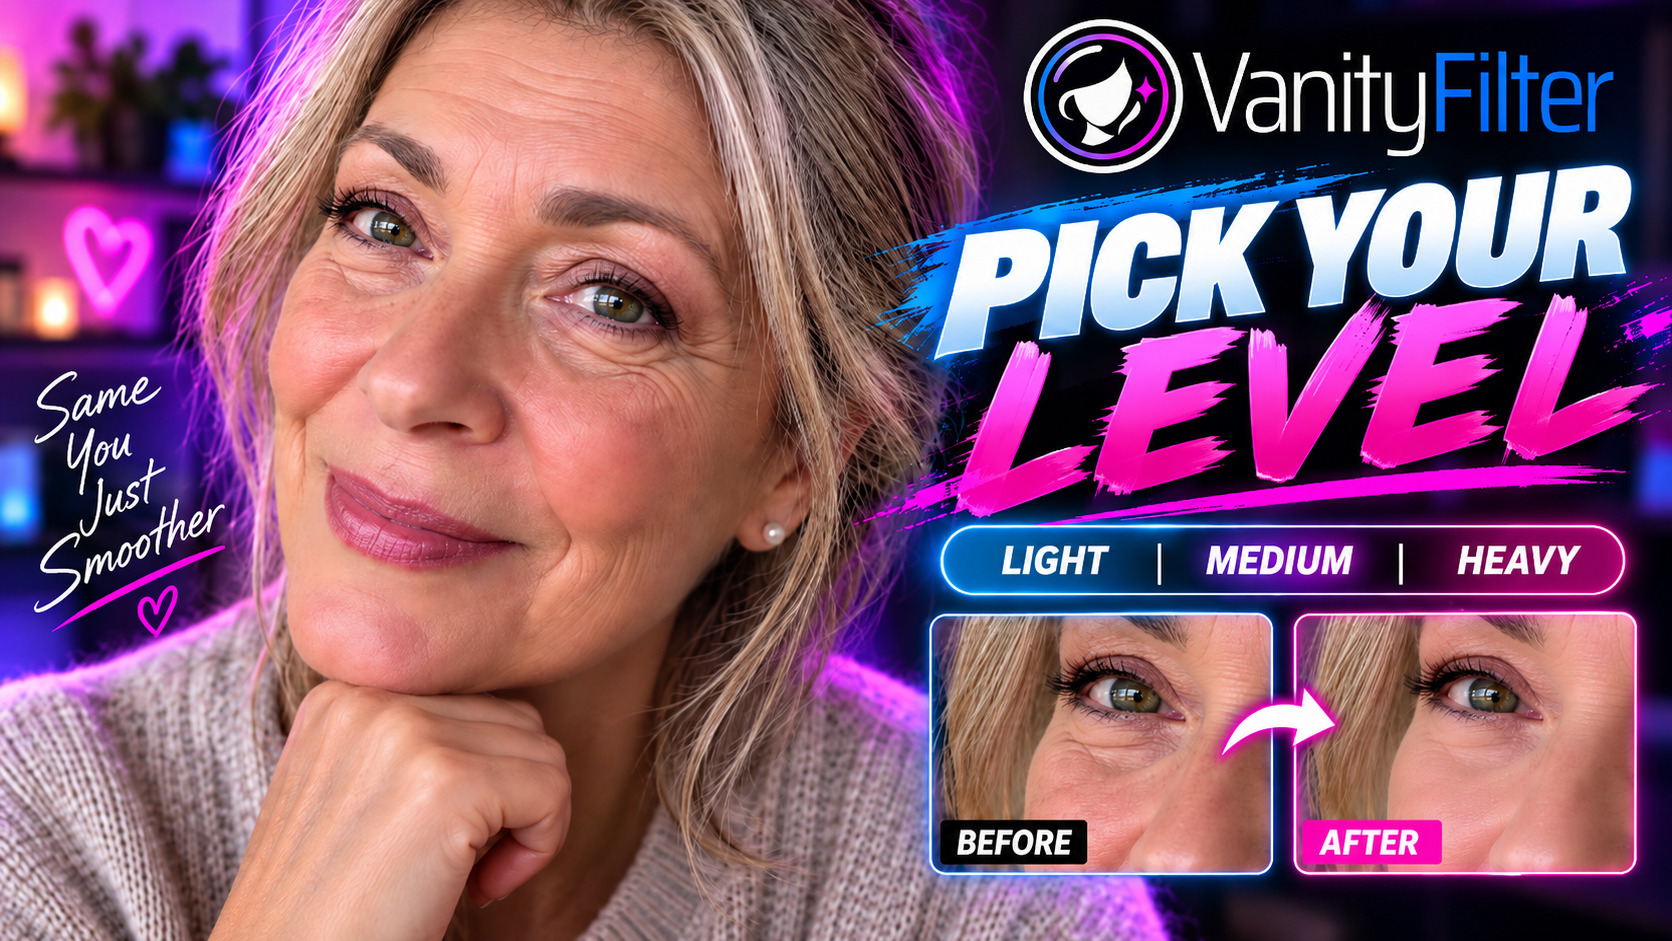
If you want smoother skin in your video, two very different tools can get you there. There’s DaVinci Resolve’s Face Refinement, built into a full color-grading suite, and there’s VanityFilter, a standalone app that does one job really well. Here’s an honest look at how they stack up, and when each one is the right call. Drag the slider below to see the kind of result we’re talking about.


A broadcast close-up run through VanityFilter. Skin evened out, hair and eyes untouched.
The short version: Reach for DaVinci Resolve if you’re already grading a shot in Resolve Studio and you want the retouch to live inside your node tree. Reach for VanityFilter if you want to smooth skin fast, especially on several people or a whole batch of clips, without setting up an NLE. It’s also the move if you’re on the free version of Resolve, which doesn’t include Face Refinement at all.
How skin smoothing works in DaVinci Resolve
Resolve’s built-in tool is the Face Refinement effect on the Color page. It detects a face, tracks it, and hands you sliders for texture plus controls for the eyes, cheeks, and lips. It’s a capable, professional tool with one important catch: Face Refinement is a DaVinci Resolve Studio feature (the one-time paid version, around $295). The free edition of Resolve doesn’t include it, so there you’d isolate skin by hand with an HSL qualifier, add a soften, and track it manually. That works, but it’s fiddly and slow.
The rough steps in Resolve Studio: on the Color page, add a serial node, apply the Face Refinement ResolveFX, click Analyze to detect and track the face, then dial back Texture (and the detail controls) until the skin softens without going plastic. Got a second person in the shot? You repeat the whole thing on another node. It looks great, but it’s one face at a time and it lives inside the Resolve grading workflow.
How skin smoothing works in VanityFilter
VanityFilter is a standalone Windows app built for this exact job. Open a clip (or a whole folder) and it automatically finds every face in the frame, up to five, including heads turned to profile. Then it uses person segmentation to build a precise mask for each person’s skin, so eyes, brows, lips, hair, hats, glasses, jewelry, and the background all stay exactly as shot. You pick one of five presets, nudge a few sliders while the preview updates live, and export H.264 or ProRes with the original audio. No node tree, no timeline, no plugins. If you want the full breakdown of what “natural” smoothing actually means, our guide on how to smooth skin in video without looking fake goes deep on it.
Side by side
| DaVinci Resolve (Face Refinement) | VanityFilter | |
|---|---|---|
| Where it runs | Inside Resolve, on the Color page | Standalone Windows app |
| Cost | Resolve Studio ~$295 one-time (free version has no Face Refinement) | $49 one-time, currently $29.95 |
| Platforms | Windows, macOS, Linux | Windows 10 / 11 |
| Faces per shot | One per node. Add a node and tracker per person | Up to 5 automatically, one pass |
| Turned / profile heads | The face tracker can lose them | A dedicated fallback detector holds them |
| What’s protected | You shape the qualifier and track | Auto per-person segmentation (eyes, lips, hair, hats, glasses) |
| Neck & forehead | Manual | Dedicated coverage sliders |
| Batch / folders | Per timeline | Built in, plus a command-line tool |
| Learning curve | Node and color-grading workflow | Five presets and a Strength slider |
| Best for | Shots already being graded in Resolve | Fast, multi-person, batch, or no-NLE work |
When DaVinci Resolve is the right choice
If you already cut and grade in Resolve Studio, Face Refinement is excellent and keeps everything in one place. You get node-based control, it sits right inside your color pipeline, and Resolve runs on macOS and Linux as well as Windows, which VanityFilter doesn’t. For a single hero shot you’re already coloring, reach for Resolve.
When VanityFilter is the right choice
VanityFilter wins on speed and scale for the specific job of skin smoothing. It’s the better pick when you have more than one person in the frame, when heads turn to profile, when you need to batch a backlog of episodes, or when you just want a finished clip smoothed without opening an editor at all. It’s also way cheaper, and it runs fully offline on a one-time license. The trade-offs are real, though: it’s Windows-only, and it isn’t an editor. It does one thing. A lot of creators run it on their raw footage before they ever open the timeline, which we cover in smooth skin before you edit.
You can also use them together
These tools aren’t either/or. Turn on mask export in VanityFilter and you get a grayscale matte video plus a JSON sidecar of the exact settings. Drop that matte into Resolve as a track matte and you can grade or composite the smoothed skin with full node control. VanityFilter does the hard masking, Resolve does the finishing. Best of both.
FAQ
Does DaVinci Resolve have skin smoothing?
Yes, the Face Refinement effect, but it lives in DaVinci Resolve Studio (the paid version). The free version
doesn’t include it, so you’d smooth skin manually with an HSL qualifier and a soften, tracked by hand.
Is VanityFilter a DaVinci Resolve plugin?
No, it’s a standalone Windows app. Process clips before or after your edit, or export a mask matte and pull it
into Resolve.
Which is better for smoothing several faces at once?
VanityFilter. It masks up to five faces (profiles included) in one automatic pass. Resolve’s Face Refinement is
one face per node.
Can I use VanityFilter and DaVinci Resolve together?
Yes. Enable mask export in VanityFilter and you get a grayscale matte video plus a settings sidecar. Bring the matte
into Resolve as a track matte and you can composite or grade the smoothed skin with full node-based control.
Related: How to smooth skin in video without looking fake · Get VanityFilter