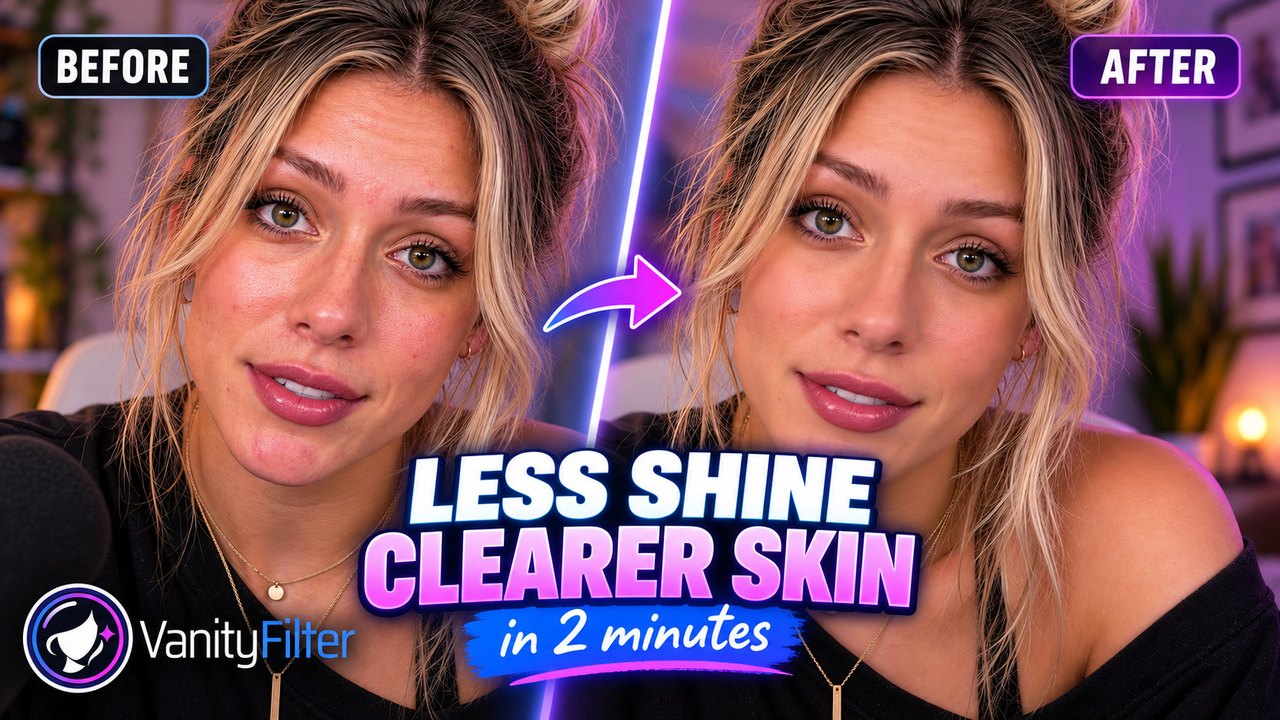
Real clips processed in VanityFilter, a step-by-step tour of the Windows app built from real screens, and same-frame comparisons you can drag. Every result on this page was rendered by the app.
Video library
See what changes. See what stays sharp.
Play any video in the library and compare the original against the processed result.
Remove Shine and Blemishes From Video, Step by Step
Follow one creator close-up from start to finish. Shine Removal tones down the bright spot on her nose, Blemish Removal heals small spots, Reduce Redness evens out the flush, and the smoothing controls finish the skin while her pores and features stay natural.
WatchWatch each slider move to the exact value used, check the skin mask and the 100 percent view, then copy her full settings before the export.
Interactive tour
Click through the real app.
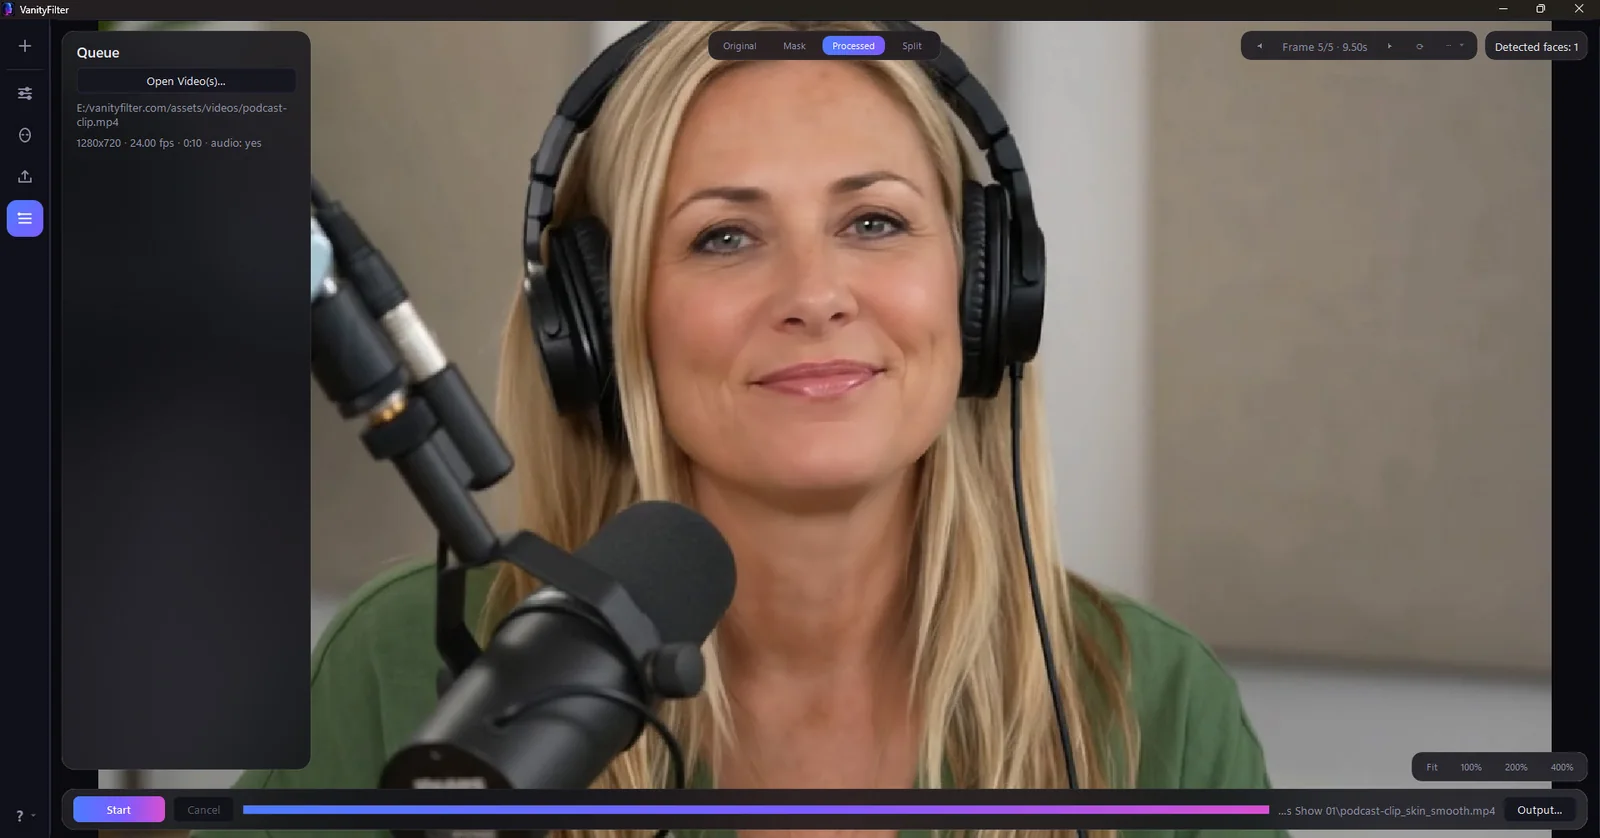
These are real VanityFilter 2.8 screens from one podcast clip. Click the glowing marker, use the buttons, or press the arrow keys.
STEP 1 OF 7
Start with a file
Drop in a clip. Or a whole batch.
Open a video or drag it anywhere onto the window. The Queue panel shows the resolution, frame rate, duration, and whether the clip carries audio, and the preview reports how many faces it found.
See it work
Compare skin, up close
Two same-frame comparisons, each with manually tuned treatments. Drag the divider and open the larger view.
Studio frame, two people
Two faces in one studio frame, each masked on its own.
BeforeAfter
Restrained smoothing with detail preservation, small texture repair, shine and redness adjustments.
One face, tight crop, where skin texture is easiest to judge.
BeforeAfter
A custom treatment. Drag the divider to inspect the change up close.
Compare frames from videos processed with VanityFilter 3.1.5.
Processing stays offline. Your footage stays on your Windows PC. VanityFilter does not upload it, and the full license is a one-time payment with no subscription.