
VanityFilter 3.0 is the release where Blemish Removal stops being an experiment. The detector now targets compact spots instead of broad shadowed regions, repairs hold steadier from frame to frame, and the upper eyelids get their own protection. This guide walks through the whole system in the order you would actually use it, using the same three creator clips and the exact settings from our new deep dive video.
The short version: Blemish Removal rebuilds small spots from the surrounding skin before smoothing runs, so the rest of your treatment sits on top of a clean base. Set it first, add only the supporting controls that solve a visible problem, check the mask, export a short range, and use Amount as the final volume knob for the whole look.
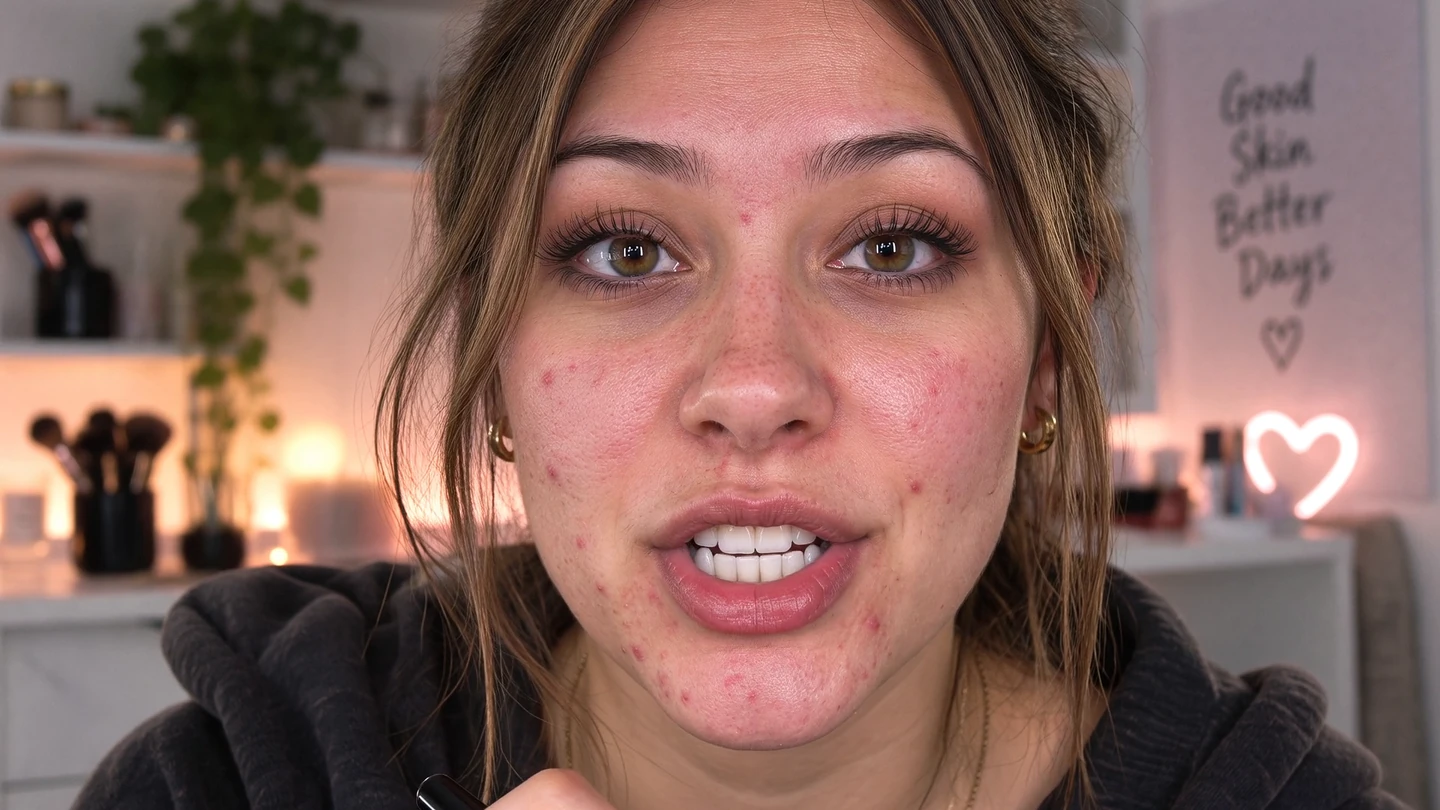
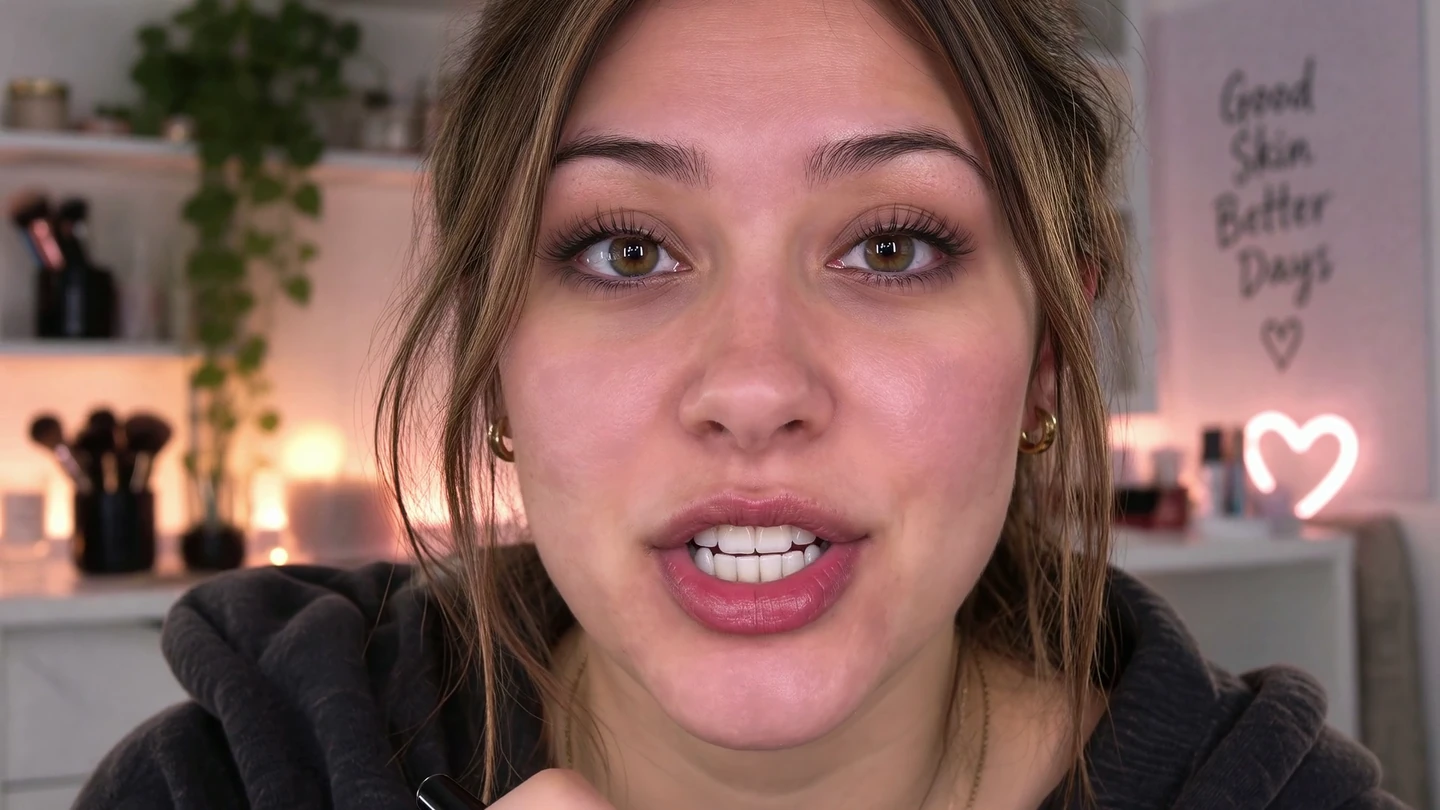
Drag to compare. The original frame and the VanityFilter 3.0 export at the same moment, using the beauty recipe below. This is the complete combined treatment, not a single-slider test.
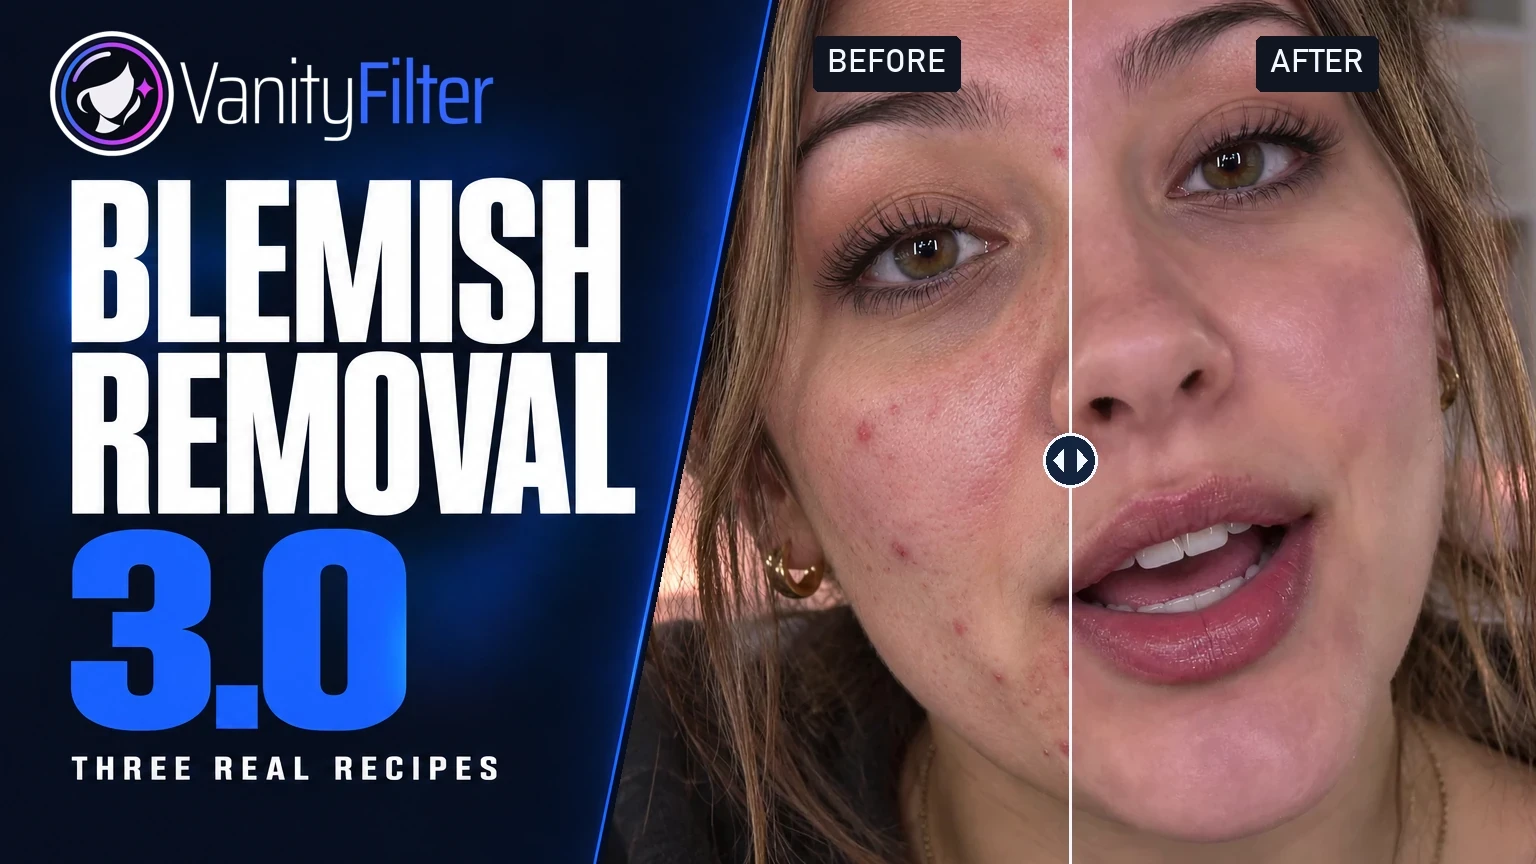
What changed in 3.0
Blemish Removal arrived in version 2.6 as an experimental control, and we said at the time that the detector would keep improving. Version 3.0 is that improvement. The changes that matter for your footage:
- Compact spots, not shadow regions. The detector now looks for small marks at several scales instead of treating any broad dark or red area as a blemish. Non-red repairs are limited to clusters of small dark spots, so an isolated mark is left alone.
- Steadier repairs between frames. Strong red cores are separated from the faint creases around them, and the size and shape rules taper instead of switching on and off. That reduces the abrupt changes that could make a repaired spot appear to blink on earlier builds. A weaker fallback still catches low-contrast red spots.
- Full-resolution mask exclusions. Anything you have excluded from the skin mask stays excluded through every pass of the repair, in preview and in export.
- Protect eyelids. A new toggle under Mask shape, on by default, keeps the skin between the eye and the eyebrow out of the treatment. It follows head rotation, is applied after mask stabilisation so earlier frames cannot refill the eyelid, and is saved with your presets.
- Better redness reduction. Reduce Redness corrects broader flushed areas by referencing less-red skin at similar lightness within the same region, with limits that keep natural warmth. Redness stays after blemish repair, so the two controls do not fight each other.
Results still depend on the footage, the skin, and your settings. Nothing in this release promises a flicker-free result on every clip, which is why the workflow below ends with a rendered check rather than a preview.
How the repair actually works
Blemish Removal looks for small spots using local differences in color and brightness. When it finds one, it rebuilds that area from the skin around it. The important part is when it does this: the repair runs before the smoothing pass, so you get a focused fix underneath the rest of your treatment rather than a blur over the top of it. Detail Restore then adds fine grain back over the repaired area along with everything else, which is why a repaired cheek does not read as a patch.
Two other rules shape the result. The repair scales with the master Amount, so easing the whole treatment back also eases the blemish work. And it stays inside the per-person skin mask, so eyes, brows, lips, hair, and anything you have excluded are never rebuilt. The features page covers every control on that mask if you want the full list.
Three real recipes, three different faces
The deep dive video shows three creators processed with three different treatments. Each comparison in the video is the original clip and the finished export at the same moment, so what you see is the complete recipe, not an isolated slider. Here are the exact settings.
Recipe 1: the beauty creator
Close, bright, and full of makeup detail that has to survive. Blemish Removal does the heavy lifting at 0.90, Shine Removal tones down hot spots from the ring light, and a small Brighten lift keeps the skin lively. Reduce Redness is off on purpose: this shot does not have a broad flush, so there is nothing for it to fix.
| Control | Value | Why |
|---|---|---|
| Blemish Removal | 0.90 | Main repair. Watch the cheeks as she turns, then look back at the eyes and makeup. |
| Strength | 0.60 | How strongly the smoothing layer blends in. |
| Smoothing Radius | 8 | Reach of the smoothing filter. Kept tight for a close-up. |
| Texture Repair | 0.23 | Pushes down the uneven texture that remains after the repair. |
| Detail Restore | 0.28 | Adds fine detail back over the smoothing. Lower than the close-up recipe. |
| Brighten | 0.10 | A small lift for the skin. |
| Shine Removal | 0.25 | Reduces the bright patches from the lighting. |
| Reduce Redness | 0 | Off. No broad flush to correct. |
| Skin Tolerance | 0.50 | Default range of accepted skin tones. |
| Amount | 1.00 | Full mix of the finished treatment. |
Recipe 2: the talking-head close-up
A different face, a different recipe. Blemish Removal comes down to 0.75, Texture Repair is completely off, and Detail Restore goes up to 0.75 so the skin keeps its natural grain over the smoothing. Reduce Redness works gently at 0.28 while Brighten and Shine Removal stay at zero. This is the treatment that makes a talking-head video easier to watch without announcing itself.
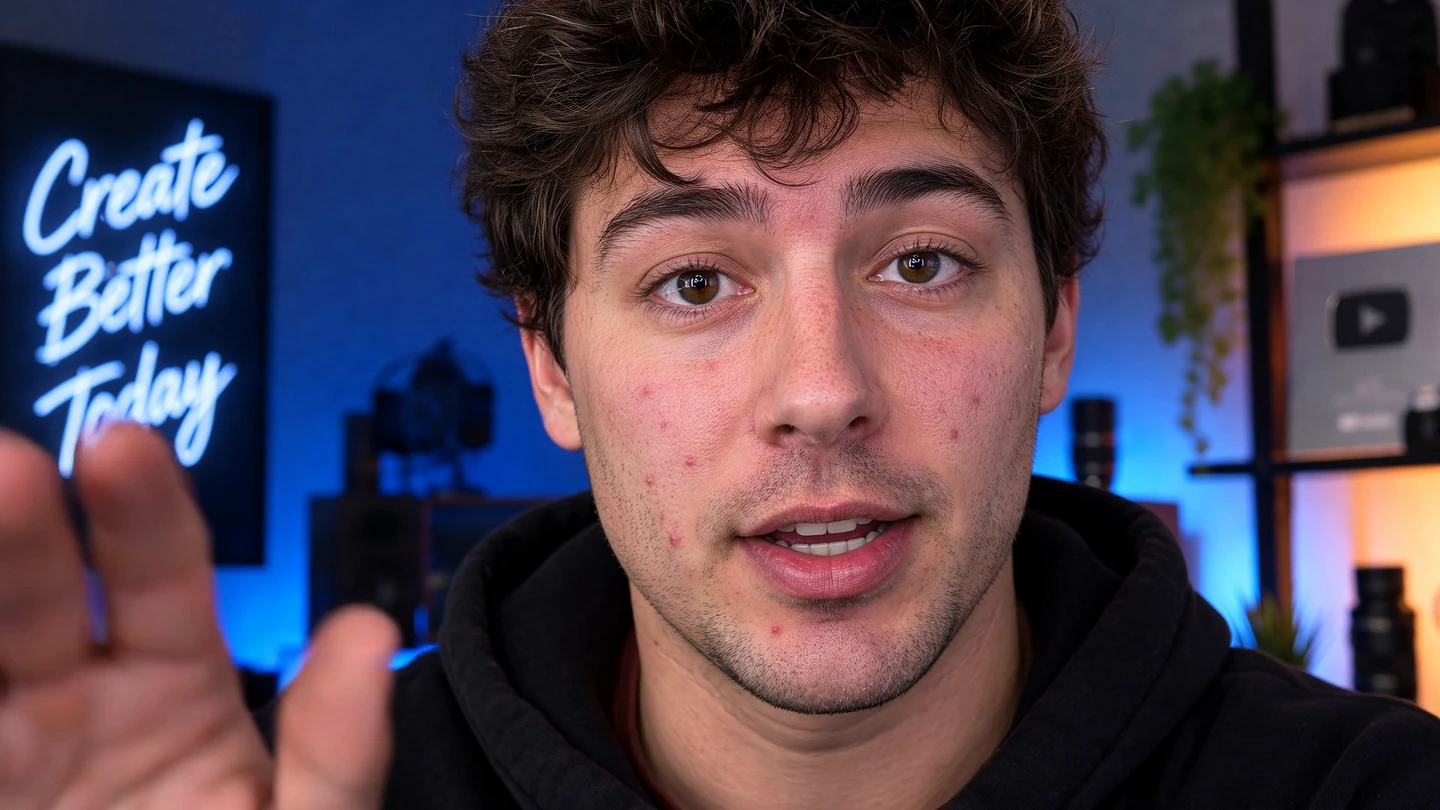
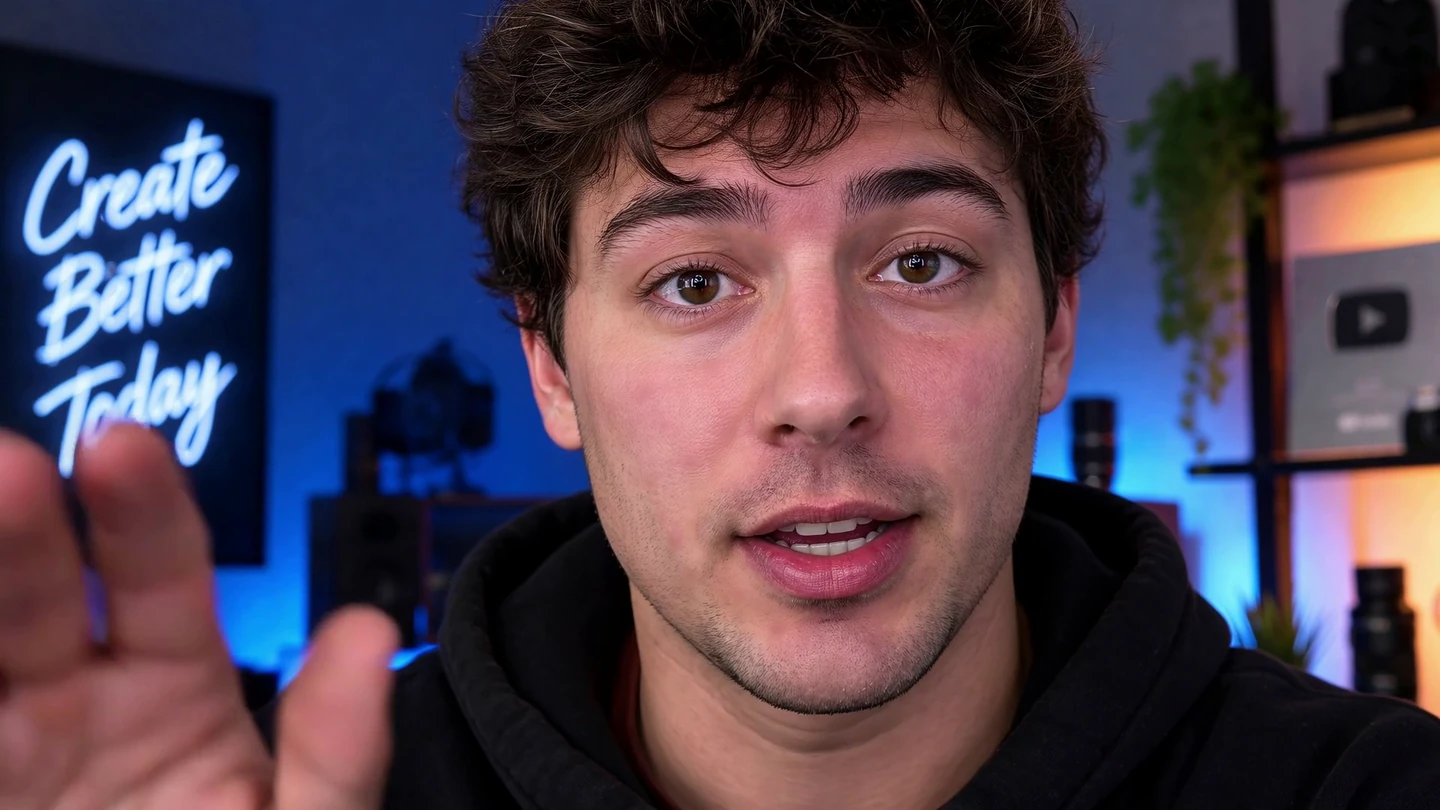
The original frame and the VanityFilter 3.0 export at the same moment, using the close-up recipe. Note the stubble along the jaw: the repair leaves it alone.
| Control | Value | Why |
|---|---|---|
| Blemish Removal | 0.75 | Lower than the beauty recipe. Follow the line across both cheeks in the video. |
| Strength | 0.60 | Same smoothing blend as the beauty shot. |
| Smoothing Radius | 10 | Slightly wider reach for a larger face in frame. |
| Texture Repair | 0 | Off. The skin does not need the extra cleanup. |
| Detail Restore | 0.75 | High, to bring fine detail back over the smoothing. |
| Brighten | 0 | Off. |
| Shine Removal | 0 | Off. |
| Reduce Redness | 0.28 | Working gently on the broader flush. |
| Skin Tolerance | 0.50 | Default. |
| Amount | 1.00 | Full mix. |
Recipe 3: the streamer
The brief contrast in the video. Mixed LED lighting and a redder complexion call for a stronger balance: Blemish Removal at 1.00, Reduce Redness up to 0.65, Texture Repair at 0.49, and a larger Smoothing Radius. Skin Tolerance rises to 0.70 so the mask keeps hold of skin under colored light. Watch the cheek through the turn in the video to see how it holds.
| Control | Value | Why |
|---|---|---|
| Blemish Removal | 1.00 | Maximum repair for a busier complexion. |
| Strength | 0.60 | Same smoothing blend. |
| Smoothing Radius | 10 | Larger reach. |
| Texture Repair | 0.49 | Stronger cleanup of uneven texture. |
| Detail Restore | 0.40 | Moderate grain over the smoothing. |
| Brighten | 0.07 | A touch of lift. |
| Shine Removal | 0.23 | Mattes the hot spots from the LEDs. |
| Reduce Redness | 0.65 | Stronger correction for the broad flush. |
| Skin Tolerance | 0.70 | Wider skin range for colored lighting. |
| Amount | 1.00 | Full mix. |
Give each control a job
The mistake most people make with a beauty filter is turning everything up. VanityFilter separates the treatment into controls that each solve one problem, and the recipes above only switch on the ones the face needs. Here is what each one does around Blemish Removal.
- Strength sets how strongly the smoothed skin blends over the original. Smoothing Radius sets how far that smoothing reaches.
- Texture Repair pushes down the uneven texture that remains after the spot repair: pores, blotches, compression noise. Detail Restore adds fine detail back over the smoothing so faces stay natural rather than waxy. They pull in opposite directions, which is why the close-up recipe turns one off and the other up.
- Reduce Redness handles the broad flush. Shine Removal tones down specular hot spots while eye catchlights stay protected. Brighten lifts the skin with a gamma curve. These solve different problems from blemish repair; leave any of them at zero when the shot does not have that problem.
- Skin Tolerance changes which colors count as skin. Raise it for missed patches or skin in shadow; lower it when the mask grabs something it should not.
- Amount is the final mix between the original and every effect you have selected. It is separate from Strength. All three recipes run Amount at 1.00, and if any of them felt too strong on your footage, easing Amount back is the one move that scales the whole look without rebuilding it.
The mask defines the treatment
Before you commit to any recipe, look at the mask. Switch the preview to Mask view: green shows the coverage, and the eyes and mouth are cut out. If a patch of cheek is missing, raise Skin Tolerance; if the mask is catching a collar or a background wall, lower it. Check several sampled frames, not just the flattering one.
Two mask controls tidy the edges. Feathering softens the boundary of the coverage so the treatment blends into surrounding skin. Mask Stability steadies that boundary between frames so it does not shimmer on a moving subject. The video's examples use Feathering at 25 pixels and Mask Stability at 0.60. Forehead and Neck coverage extend the mask toward the hairline and below the jaw when you need them, and the new Protect eyelids toggle sits in the same panel. Inspect the boundary on a still, then go back to moving footage, because a good still frame is only the first check.
Build your own treatment, step by step
- Load the clip and pick representative preview frames. Add the frame where the spots are most visible, and one where the head turns.
- Set Blemish Removal first. Start around 0.75 and judge the repair on its own before anything else is on. Look for spots that were missed and for anything that should have been left alone, such as a mole or a beauty mark.
- Add only the supporting effects that solve a visible problem. Redness? Reduce Redness. Hot spots? Shine Removal. Flat, dull skin? A small Brighten. If the problem is not there, the slider stays at zero.
- Balance smoothing and detail. Set Strength and Smoothing Radius for the framing, then use Texture Repair and Detail Restore against each other until the skin looks like skin.
- Inspect the mask. Mask view, several frames, Skin Tolerance as needed, Feathering and Mask Stability for the edges.
- Export a short section. Use the In and Out fields on the Export panel to render ten seconds, and watch it at normal speed. This is where you catch a repair that flickers or a boundary that breathes. The blemish pass can take noticeably longer than real time, so a short range also saves you waiting on a full render you will not keep.
- Ease Amount if the whole look is too much, then save the settings as a preset once the balance works for the shot. Presets carry the Protect eyelids setting with them.
Honest limits
Blemish Removal works from color and brightness differences, so results vary with skin tone, acne type, and the quality of the source. Heavy compression, very small faces, and faces hidden behind hands or hair give it less to work with. The 3.0 changes reduce inconsistent repairs between frames on the footage we tested; they are not a guarantee for every clip, which is why the rendered check is part of the workflow rather than an optional extra. When something looks wrong, lower Blemish Removal before you reach for the other sliders.
Where this came from
Blemish Removal first shipped in the 2.5 to 2.7 release run as an experimental Skin-panel slider. Version 2.8 kept its repairs inside the full-resolution mask and added ear protection; version 3.0 reworks the detector, adds eyelid protection, and improves redness handling. The full list of changes is on the changelog.
FAQ
Is Blemish Removal still experimental in VanityFilter 3.0?
No. Version 3.0 removes the experimental label. Spot targeting and frame-to-frame consistency were improved, but results still depend on the footage, the skin, and your settings, so review a short rendered range before exporting a full clip.
What is the difference between Amount and Strength?
Strength controls how strongly the smoothing layer blends in. Amount is the final mix between the original frame and every effect you have selected, including Blemish Removal. If a treatment feels too strong, ease Amount back instead of rebuilding the recipe.
Will Blemish Removal erase moles, freckles, or stubble?
It is designed not to. The detector looks for compact spots and clusters of small dark marks rather than an isolated mark, and repairs run before smoothing so fine detail is restored over them. Always check the preview on your own footage, because skin tone and acne type change the result.
Why does the video show three different settings recipes?
Because the footage changes. The beauty creator uses Blemish Removal at 0.90 with Shine Removal and a small Brighten lift, the talking-head close-up uses 0.75 with Texture Repair off and a higher Detail Restore, and the streamer uses 1.00 with stronger Reduce Redness and a larger Smoothing Radius. Choose the corrections a face actually needs.
How do I check the treatment before I render the whole clip?
Open Mask view to confirm the green coverage and the eye and mouth cutouts, adjust Skin Tolerance if patches are missed or unwanted areas are caught, then export a short In and Out range and watch it at normal speed. Save the settings as a preset once the balance works.
VanityFilter 3.0 processes video offline on Windows 10 and 11. One-time license, no subscription. Download VanityFilter 3.0 See current pricing.