Filmora for Windows already includes a built-in Retouch panel. If you have a handful of clips sitting in one timeline, that panel is the direct answer. Try it before adding another step to your workflow.
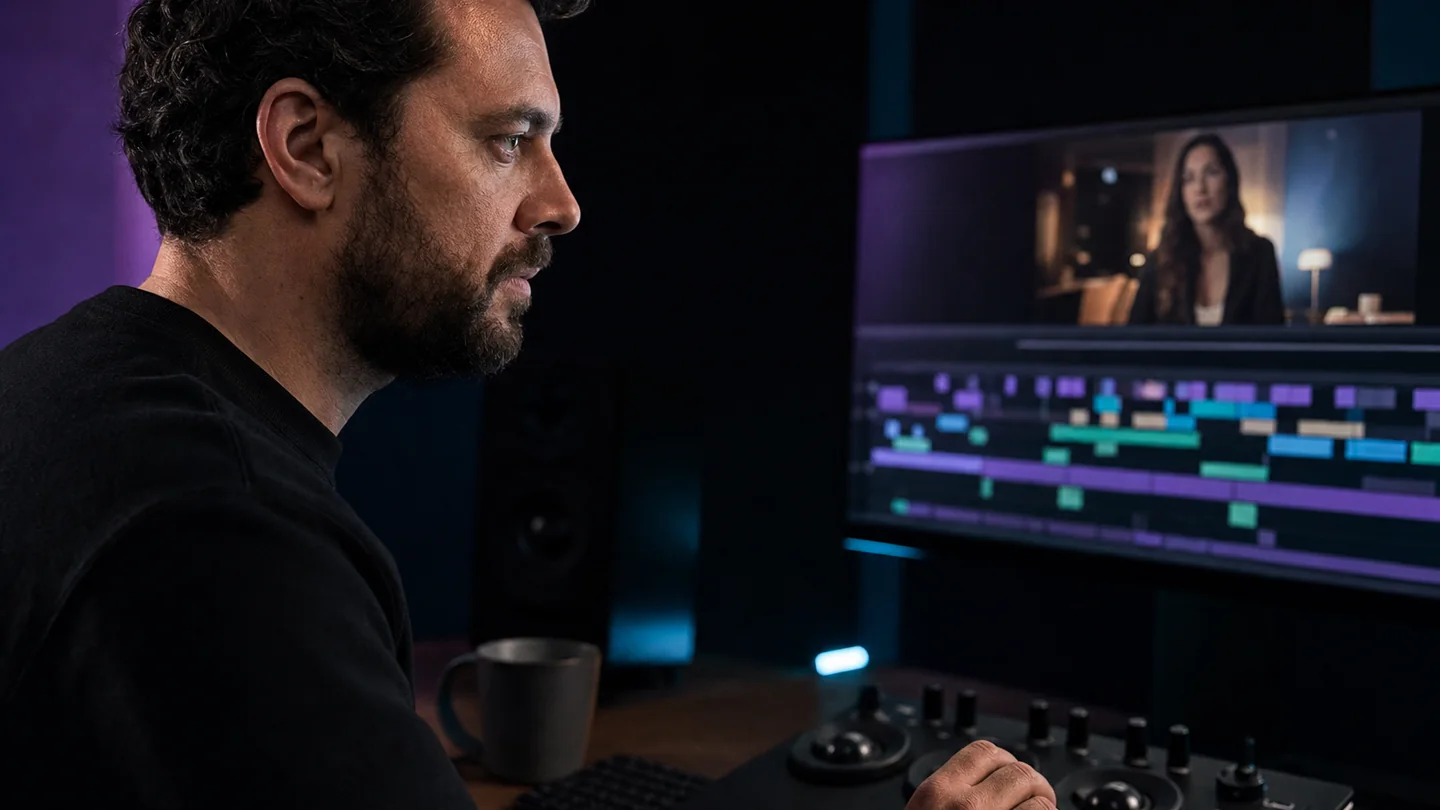

A real VanityFilter Light touch pass at 65 percent Master Amount on generated source footage. The frame suggests a video-editing workstation. It is not a Filmora screenshot, and the after frame is not Filmora output.
The short version: select the clip in Filmora, open Video, then Retouch, enable Beauty, choose Single face or Multiple faces, and keep the Skin controls restrained. Use VanityFilter before Filmora when the same dedicated skin pass needs to run across a folder or the footage must stay offline.
Use Filmora Retouch first
The current Filmora Retouch guide for Windows documents the path clearly. Select the video clip on the timeline, open the Video panel, choose Retouch, and turn on Beauty. Filmora then shows Skin, Face, Eyes, Nose, Mouth, and Eyebrows groups.
Under Skin, the documented controls cover texture, tone, smoothing, whitening, wrinkle reduction, and under-eye bag removal. Those are the controls relevant to this job. Reshaping the jaw or adding makeup is a different decision. Leave the other groups alone unless the shot actually calls for them.
Filmora also documents two face modes. Single face handles one detected person. Multiple faces lets you select a detected face and preserve separate Beauty or Makeup settings for each person. That is useful when an interview guest needs a lighter treatment than the host.
The built-in Filmora workflow
- Select the video clip on the timeline.
- Open Video > Retouch and enable Beauty.
- Choose Single face or Multiple faces.
- Adjust only the Skin controls you need.
- Preview the clip while the person talks and turns, then export.
Wondershare’s current video beauty filter page describes the same route and confirms that each detected face can receive separate settings. That is the useful fact. Ignore the temptation to turn on every available face control simply because the panel is open.
Correct exposure and white balance first
Start before the Retouch panel. Fix exposure and white balance because smoothing preserves whatever color and brightness mistakes already exist. A warm, underexposed clip will still be warm and underexposed after smoothing. It will just have softer skin texture.
Set Skin smoothing low. There is no responsible universal number. Camera distance, source resolution, lighting, and compression all change where the plastic threshold appears. Begin near the bottom of the range and raise the control only until the distracting texture settles.
Judge motion, not one flattering frame
A paused frame can look excellent while the same settings fall apart the moment the head moves. Real skin shifts, catches light, and changes shape as someone speaks. If the face stays perfectly smooth through every expression, the effect reads as plastic.
Play a section with speech and a head turn. Watch at normal viewing size. Check every edit where the face changes size, because a setting that disappears in a wide shot can look heavy in a close-up. This is also why the 4K camera guide recommends judging preserved texture at delivery size.
When Filmora is the right answer
Filmora Retouch is the direct choice when the clips are already on the timeline and the job is small. The treatment stays in the edit. You can adjust it beside the cut, color, titles, and audio without creating another media file.
That convenience matters. A short social edit with one talking-head clip does not need a separate preprocessing pipeline. Use the tool already in front of you.
When a separate skin pass makes sense
VanityFilter is a separate Windows file-processing step. It is not a Filmora plugin and does not edit a Filmora project. You run source clips through it before importing them, or process a finished Filmora export as a final pass.
Preprocessing fits when a whole shoot needs the same treatment. A folder of interview clips can run through the app or command line with one reviewed setup, then arrive in Filmora already corrected. The pre-edit workflow guide explains the tradeoff: more files before the edit, fewer repeated skin adjustments inside it.
Offline processing is the other clear case. VanityFilter runs on Windows 10 or 11 and does not upload the footage. That matters for an internal interview, unreleased product video, or any source that should remain on the workstation.
Check the mask before rendering
VanityFilter segments skin per person. Hair, caps, collars, eyes, brows, lips, and the background stay outside the mask. Up to five detected faces can receive separate sampled skin colors and feature exclusions.
The preview browser can sample frames evenly, randomly, or at an exact timestamp. Each sample is available as the processed frame, mask overlay, original, or side-by-side view. Check the mask where skin meets hair and clothing. If the boundary is wrong, fix it before the full render.
Use the Master Amount wet/dry dial to scale the complete treatment toward the original. Texture repair, brightening, shine, and redness controls are available, but the clip may need only smoothing. Restraint is still the rule.
Plan the handoff to Filmora
VanityFilter accepts MP4, MOV, AVI, and MKV input. It writes H.264 with AAC audio or ProRes 422 HQ with PCM audio, and preserves the original audio. Import that processed file into Filmora like any other source clip.
If the edit is already finished, export from Filmora first and process that file. This avoids rebuilding a locked timeline, but it creates another encoded generation. When source clips are still available, preprocessing before the edit is the cleaner route.
Editors who want to reuse the detected skin area downstream can export a grayscale mask matte for Premiere Pro or DaVinci Resolve. The mask-matte guide covers that handoff. Filmora Retouch remains the simpler choice when the whole job will stay inside Filmora.
Choose by job size
One short clip already in Filmora. Use Filmora Retouch. Keep smoothing low and preview motion.
Several timeline clips with different faces. Use Filmora’s Multiple faces mode and set each detected person separately.
A folder of source clips needing one treatment. Run a reviewed VanityFilter batch before import.
Footage that must remain on the machine. Use VanityFilter’s offline file workflow.
A locked Filmora edit. Export it, process the finished file, and accept the extra encoded generation.
Practical checklist
- Correct exposure and white balance before smoothing.
- Start low and raise the treatment only as needed.
- Preview speech, head turns, and every change in shot size.
- Keep hair, eyes, brows, lips, clothing, and the background sharp.
- Stay in Filmora for a few clips. Preprocess when the job becomes repeatable or batch-sized.
FAQ
Does Filmora have skin smoothing?
Yes. Filmora for Windows includes a Retouch panel with a Beauty section and documented Skin controls for texture, tone, smoothing, whitening, wrinkle reduction, and under-eye bag removal.
Is VanityFilter a Filmora plugin?
No. VanityFilter is a separate Windows application that processes video files before they enter Filmora or after a Filmora export. It does not integrate with or edit a Filmora project.
How many faces can VanityFilter handle in one frame?
Up to five. Each detected face gets its own sampled skin color and its own eye, brow, and lip exclusions.
What file formats does VanityFilter accept?
MP4, MOV, AVI, and MKV inputs. Output is H.264 with AAC audio or ProRes 422 HQ with PCM audio, with the original audio preserved.
Does VanityFilter require an internet connection?
No. It runs offline on Windows 10 or 11. An NVIDIA GPU is optional.
See VanityFilter on real footage →
VanityFilter processes video offline on Windows. There is no subscription. See current pricing.