
Canva has a Face Retouch tool with a Smooth skin slider, and it works on photos. For video, its help center documents no skin control. If your face is the thumbnail, the reel or the whole video, the practical move is to smooth the clip first and bring the corrected file into Canva.
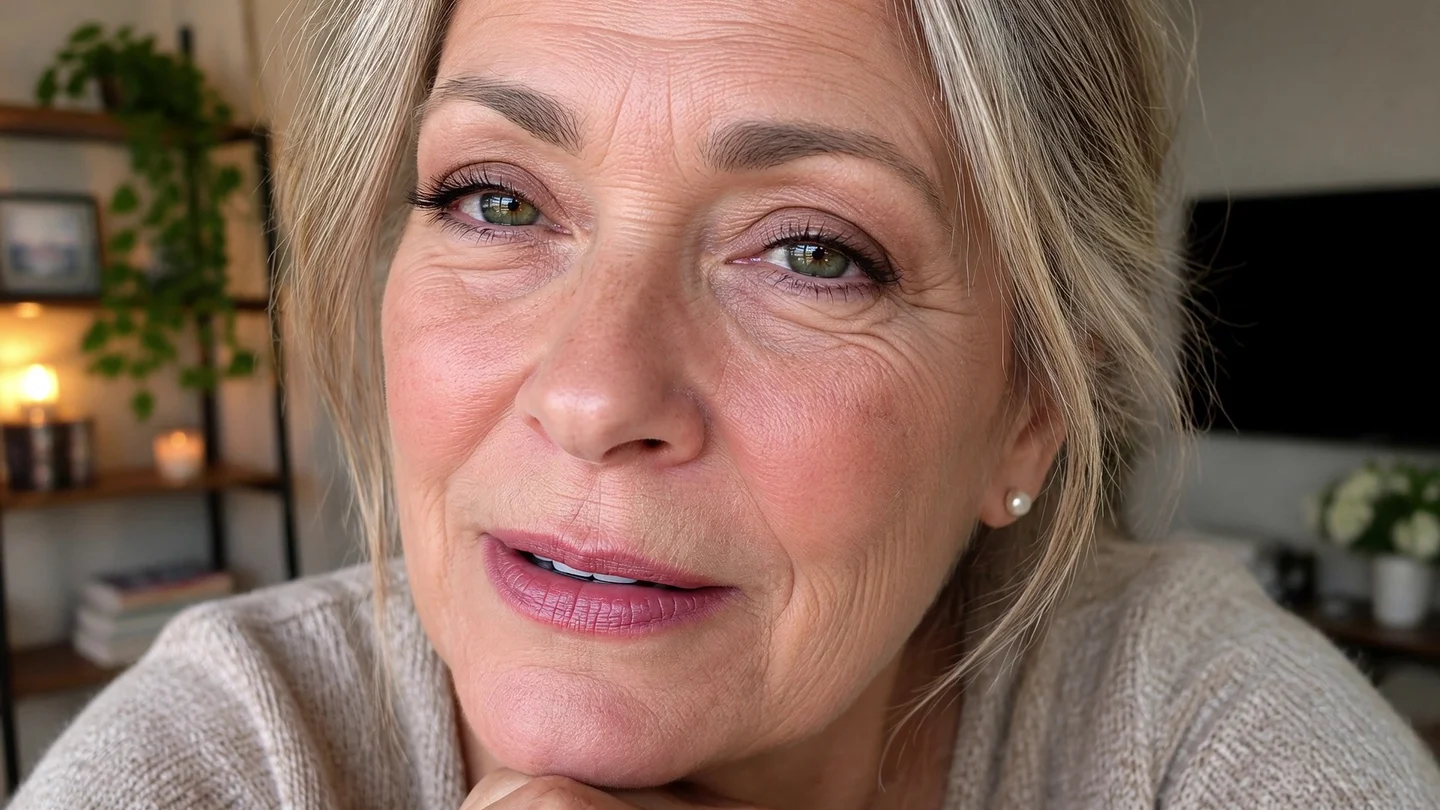
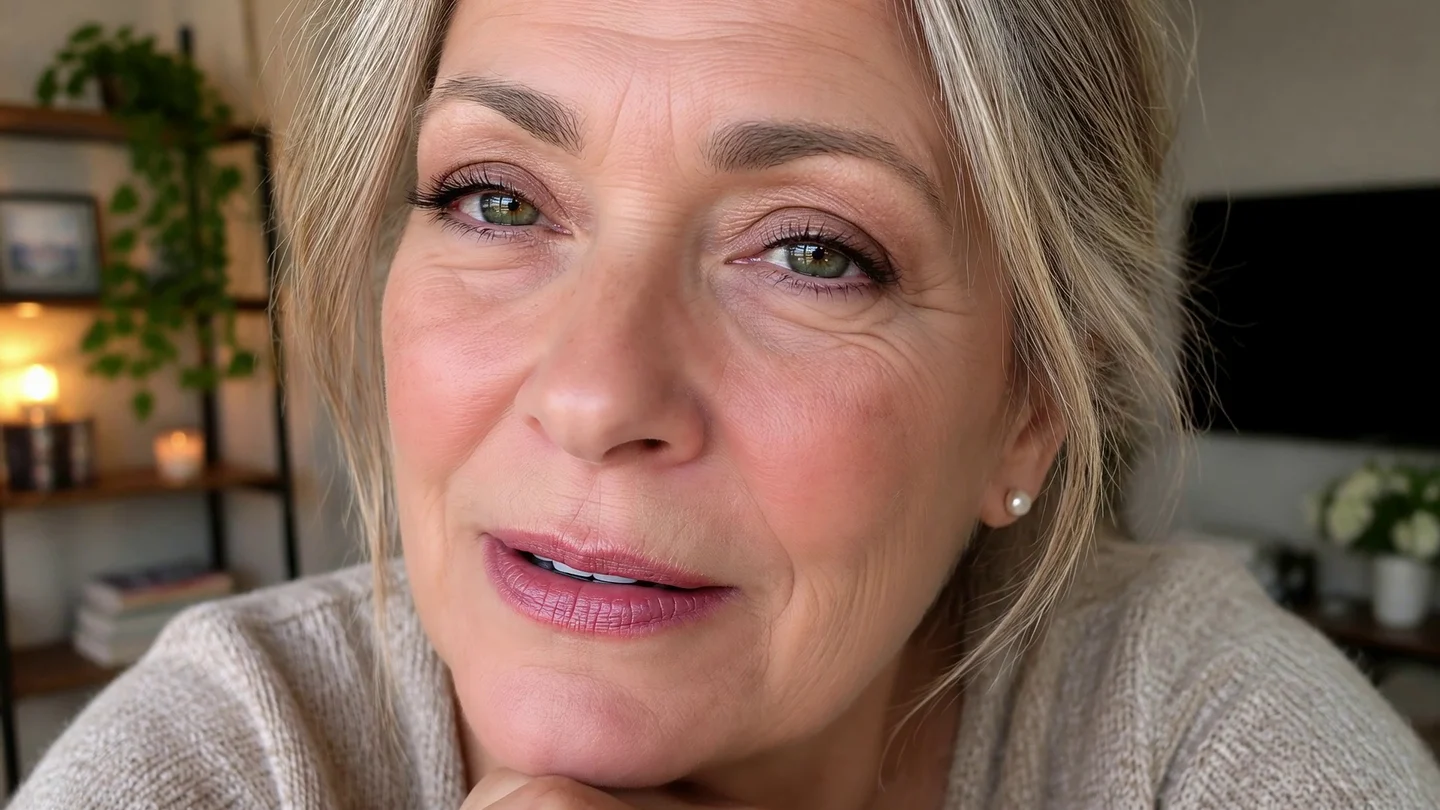
The same frame of a talking-head clip before and after processing in VanityFilter 3.1.5. Drag to compare the cheeks, forehead and under-eye area. Hair, eyes, lips and the room are left as shot. This clip was not edited in Canva.
Canva’s Face Retouch is documented for photos. For a video, smooth the original clip on your own computer, export a normal MP4, then upload that file to Canva and build the design around it.
What Canva documents today
Canva’s help article Retouch photos with Photo Editor describes Face Retouch. You select a photo, open Edit, go to Tools, choose Face Retouch and drag the Smooth skin slider while the photo updates in the editor. Canva says it detects faces and skin tones, smooths skin texture, removes blemishes and evens out the complexion, and that it currently works best on individual portraits.
Video gets a different set of tools. The help page Adjust image and video settings covers video under Edit and then Adjust: a slider for each setting, Auto-adjust, filters and an Apply to all media option. Canva labels the video settings an early beta. We found no skin control for video in the help center, and Canva’s page on photo effects says effects only work on SVGs and photos.
Canva changes its editor often, so check the panels in your own account. If a video skin control shows up later, it is worth a test on your footage.
Why the order matters
A Canva video usually has more than a face in it. There is text, a caption bar, stickers, a logo, maybe a music track. A skin pass belongs on the footage alone, before any of that sits on top. Run it on the original clip and the face is the only thing it has to deal with.
- Process the original recording with a skin pass on your computer.
- Export an MP4 at the source resolution.
- Upload the corrected file to Canva, then add your text, music, transitions and branding.
- Download the finished design the way you normally would.
The corrected clip is a regular video file, so it also works if you edit the same footage somewhere else next month.
Running the pass in VanityFilter
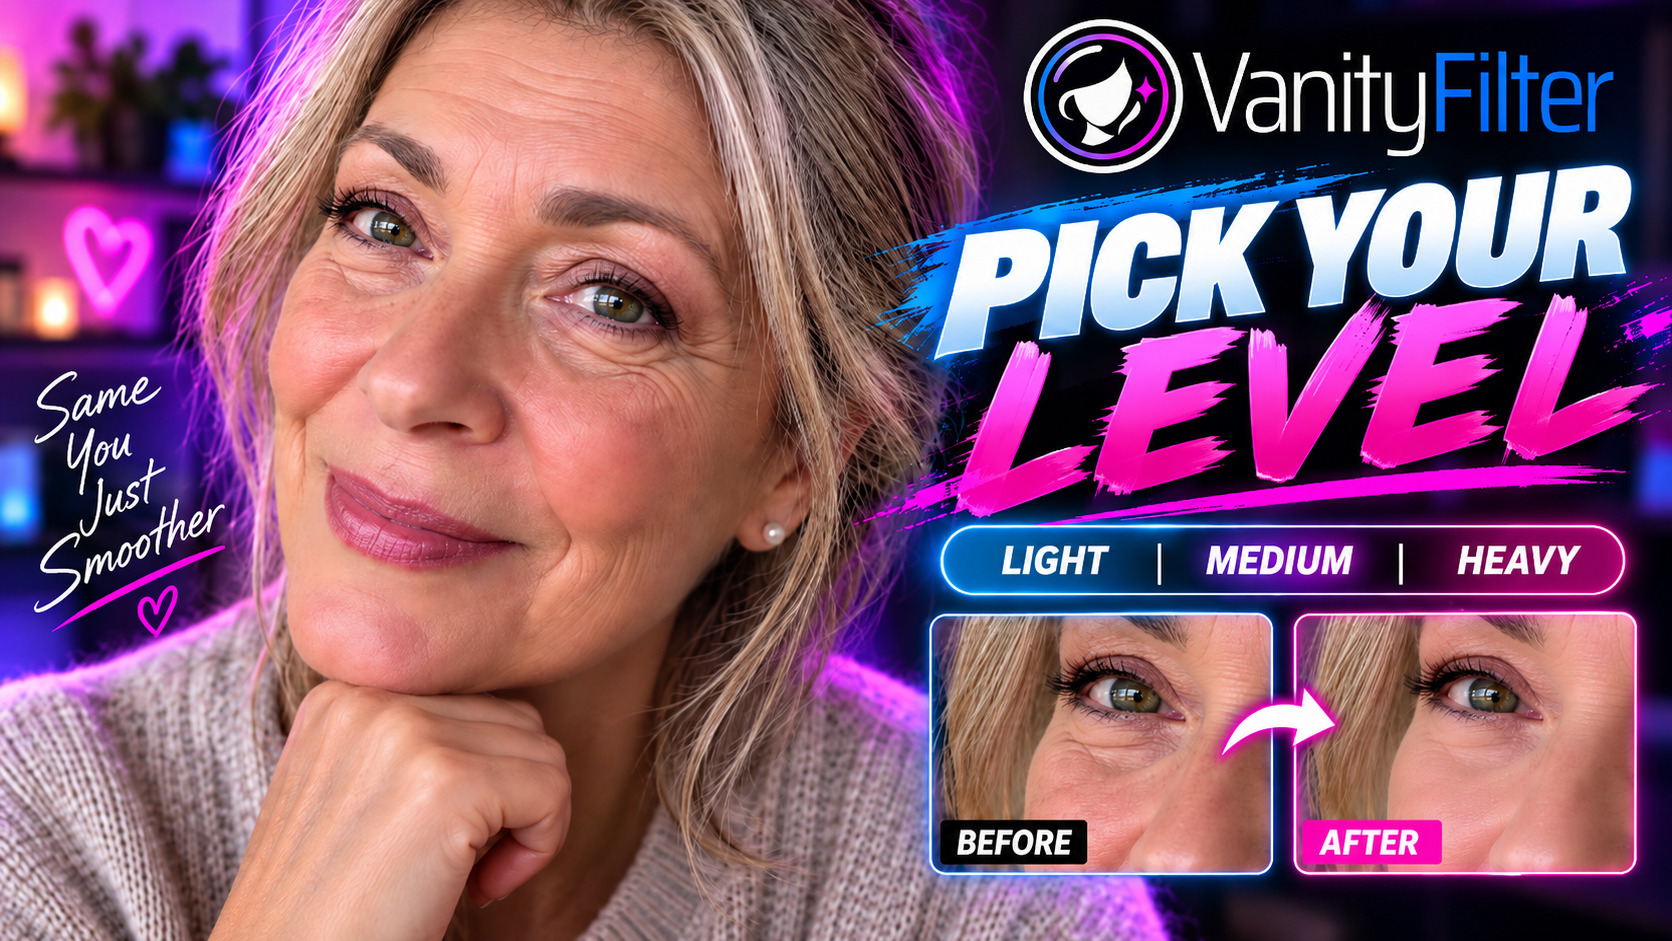
VanityFilter is a Windows application that processes video files offline. It reads MP4, MOV, AVI and MKV, which covers what most phones, webcams and screen recorders produce. Open the clip, pick a frame where the person is mid-sentence and moving, and check the mask overlay first. Smoothing should stop at the hairline and leave the eyes, brows, lips and hair alone. If the mask is clean, raise the Master Amount slowly from a low start until the skin looks rested, then stop. Our Light, Medium or Heavy guide shows how far each level goes on the same clip.
Export H.264 at the source resolution, GPU accelerated on NVIDIA, or ProRes 422 HQ if you plan to keep editing outside Canva. The original audio is kept either way.
A few limits are worth knowing. Variable frame rate footage exports at a constant frame rate. Up to five faces are detected per frame. A face that is very small or mostly covered is skipped for those frames, and the mask fades out instead of popping. If you cut short clips for social, the CapCut guide covers the same smooth-first order for another short-form editor.
When Canva’s photo tool still makes sense
If you only need a still, such as a thumbnail or a cover image, Canva’s Face Retouch is the documented route and it is quick. Keep the slider low. The face on your thumbnail should still look like the face in your video, so match its strength to the pass you ran on the clip.
Frequently asked questions
Does Canva have a skin smoothing tool for video?
Not that its help center shows. Canva’s Face Retouch, with a Smooth skin slider, is documented for photos in the photo editor, and Canva’s help page on effects says they only work on SVGs and photos. The video Adjust panel lists general settings and is marked as a beta.
Can I use Face Retouch on a video clip in Canva?
Canva’s Face Retouch documentation covers photos, and we found no video version in its help center. If you need smoother skin on moving footage, run the pass on the clip before you upload it.
Should I smooth skin before or after importing a clip into Canva?
Before. Process the original clip on your own computer, then upload the corrected file. That way the skin pass sees clean footage, with no text, stickers or graphics from your design on top of the face.
Which file should I upload to Canva after a skin pass?
An H.264 MP4 export at the source resolution is the simple choice. VanityFilter keeps the original audio, so your voiceover or music edit in Canva works the same as before.
Does VanityFilter work inside Canva?
No. VanityFilter is a separate offline Windows application. It reads the video file you give it and writes a corrected file, which you then upload to Canva like any other clip. It does not connect to your Canva account.
VanityFilter runs offline on Windows with a one-time license. Download it here and try a pass on one clip before you build your next Canva design around it.