
To put a face filter on a video you already recorded, import the clip into an app that can track a face, choose the type of effect you want, lower the intensity, and watch the result while the person moves. Then export a new copy at the original frame size. The right tool depends on whether you want floating hearts, virtual makeup, a reshaped face, or a natural skin correction.


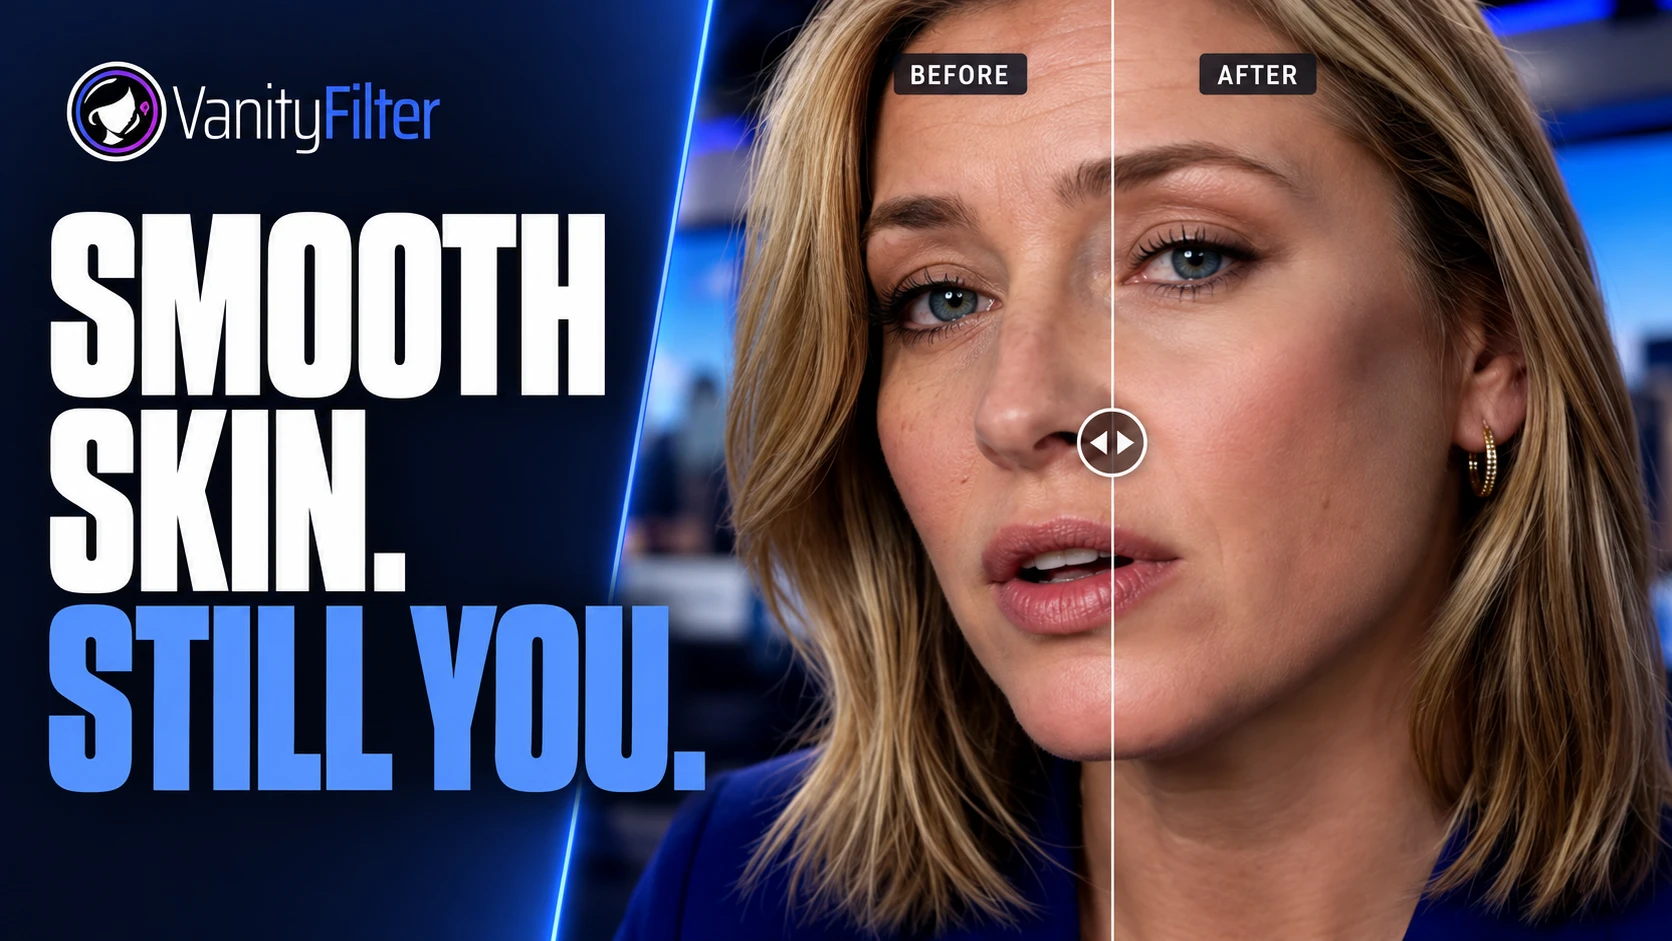
Drag the divider. A face-aware treatment changes the skin without smearing the headphones, microphone, hair, or eyes.
Quick answer: use a mobile face-filter app for playful effects or digital makeup. Use a face-aware retouching tool for natural skin work on an existing video. A normal color filter changes the whole frame, and a plain blur softens every feature inside its mask.
First, decide what “face filter” means
The phrase covers several different effects. Picking the category first saves you from opening an editor that cannot do the job.
Creative face effects
These track landmarks and attach graphics to the face: glasses, animal ears, stickers, animated makeup, or a different background. They are built for social clips and fast experimentation.
Beauty and makeup filters
These may add lipstick or lashes, reshape facial features, whiten teeth, or smooth skin. They can change the person substantially, so the amount control matters.
Natural skin retouching
This targets skin texture, shine, redness, or individual spots while protecting the facial features that should stay sharp. It suits interviews, tutorials, and talking-head footage.
Whole-video filters
A color preset changes the entire image. It can warm the shot or shift contrast, but it does not know where the face ends. It is grading, not face retouching.
The fast route for a short social video
For a Reel, Short, or saved phone clip, a mobile face-filter app is the simplest route. The labels vary, but the process is usually the same:
- Import the saved video. Choose the clip from the phone gallery instead of opening the live camera.
- Open the face, beauty, makeup, or effects section. Do not confuse it with the color-filter panel.
- Pick one effect and reduce its amount. Presets are designed to be obvious in a thumbnail. They often need less intensity in motion.
- Review the difficult moments. Check a head turn, a hand crossing the face, hair near the cheek, and the fastest expression in the clip.
- Export once. Keep the source resolution and frame rate when the app offers those choices. Upload the exported copy rather than repeatedly re-saving it through several apps.
If you are editing in CapCut, our CapCut face-retouching guide covers the phone, desktop, and browser routes separately.
How to add a natural face filter to an existing video on Windows
A natural filter needs a skin mask, not a rectangle over the face. This is the recorded-video workflow in VanityFilter 3.0:
- Open the clip. VanityFilter accepts MP4, MOV, AVI, and MKV files on Windows 10 or 11.
- Sample more than one moment. Check frames from different parts of the clip, especially after lighting changes or a turn toward profile.
- Start with Light touch. Set the overall look with Strength and Smoothing radius. Use Amount to blend the complete treatment back toward the original.
- Switch to Mask view. The green overlay shows exactly where the treatment lands. Eyes, brows, lips, hair, clothing, and the background should remain outside it.
- Add only the corrections the shot needs. Texture repair and Detail restore balance the finish. Shine removal, Reduce redness, Brighten, and Blemish removal solve separate problems, so leave a control at zero when it has no job.
- Export a short range. Watch the rendered test at normal speed. If the face still looks like the same person and the mask holds through motion, export the full clip as H.264 or ProRes 422 HQ.
The feature guide shows every control with real interface captures, including Mask, Split, and the export panel.
Why a blur is usually the wrong face filter
A blur does not understand a face. Put an oval blur over someone and it softens skin, eyelashes, lips, the edge of the nose, and any hair that crosses the oval. Tracking keeps the oval attached to the head, but it does not make the selection smarter.
That can be fine for hiding an identity. It looks wrong as beauty work because the viewer expects eyelashes and hair to contain more detail than a cheek. A skin mask preserves that difference.
How strong should the filter be?
Stop when the distraction stops pulling your eye. Do not keep pushing until every line disappears. Normal viewing size is the creative test; 100 percent zoom is for catching mask edges and damaged detail.
Watch a full sentence, not one flattering frame. Teeth appear, lips move, eyelids close, and the jaw changes shape while someone talks. A filter that looks polished in a still can pulse or slide during those movements.
Face filters with more than one person
A group clip needs a separate decision for every face. The person nearest the light may need less correction than someone at the edge of the frame. A whole-frame filter cannot make that distinction.
VanityFilter detects up to five faces per frame and builds a separate skin mask for each one, including turned and profile faces. Use Primary face only when the background people should stay untouched. Ignore small faces can exclude passers-by or an audience that is too small in the frame to review properly.
Should you record the filter live?
Use a live effect when the live feed is the final product. For an edited video, recording clean footage gives you room to change the treatment, remove it, or apply a different amount after you see the full cut. Once a live beauty filter is recorded into the pixels, the untouched face is gone from that file.
If your job is a webcam call or livestream rather than a saved clip, VanityCam handles the live path. For recorded files, apply the treatment after capture and keep the source.
See a face filter working in motion
A before-and-after still proves very little about tracking. The walkthrough below shows the original, the skin mask, the controls, and the processed video on a moving news presenter. You can also open the complete video library for more faces and treatments.
Frequently asked questions
Can you put a face filter on a video you already recorded?
Yes. Import the saved clip into an app that supports face tracking or face-aware retouching, choose the effect, review it while the face moves, and export a new video. You do not have to record the filter live.
What is the difference between a face filter and a video filter?
A face filter follows facial features or a skin region. A video filter usually changes the color, contrast, or texture of the whole frame. A color preset can improve a shot, but it cannot protect eyes and hair while treating skin.
How do you add a face filter without making the video look fake?
Use the lowest amount that solves the visible problem. Keep eyes, brows, lips, hair, and clothing outside the effect. Check the result during a head turn and watch it at normal speed before exporting the whole video.
Can one filter handle several people in a video?
It depends on the tool. VanityFilter can detect up to five faces in one frame and makes a separate skin mask for each person. Check every face because lighting and face size may differ across the shot.
Should I apply a face filter before or after editing?
Apply it before editing when you have many source clips that need the same treatment. Apply it after editing when only the finished sequence needs work or when the final crop changes face size. Keep the untreated source files either way.